Adding Text Overlays
You can add text overlays to scene views in the form of titles or captions or as detailed information that describes an image or finding.
You can customize the text color, font face, size, and alignment, as well as the opacity of the overlay in the Overlay editor (see Text Overlay Editor). Text overlays can be positioned anywhere inside a scene view and can be resized for the best text fit.
- Select the scene view to which you want to add the text overlay.
- Click the Text Overlay
 button on the Overlays panel.
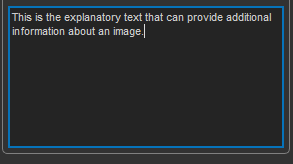
A text overlay box appears in the selected view and is listed in the Data Properties and Settings panel.
- Do the following, as required (see also Text Overlay Editor).
- Enter the required text in the Overlay editor text edit box.
- Select the font attributes — color, font face, and font size — as required.
- Align the text, as required.
You can left, center, or right align your text, as well as align text at the top, middle, or bottom of the text box.
- Adjust the opacity of the text, as required.
- Enter the required text in the Overlay editor text edit box.
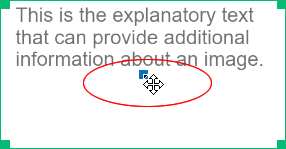
- Do the following to move the text overlay box:
- Make sure that the Edit geometry and position option is checked.
- Drag from the center of the Text Overlay box to reposition it, as shown below.
Note After your adjustments are complete, you can lock the Text Overlay box by unchecking the Edit geometry and position option.
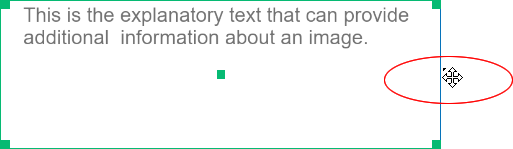
- Do the following to resize the text overlay box:
- Make sure that the Edit geometry and position option is checked.
- Drag a face of the Text Overlay box to resize it, as shown below.
Note After your adjustments are complete, you can lock the Text Overlay box by unchecking the Edit geometry and position option.
- Save the overlay, if required (see Exporting Objects).
You should note that text overlays can also be saved in session files (see Saving Sessions).
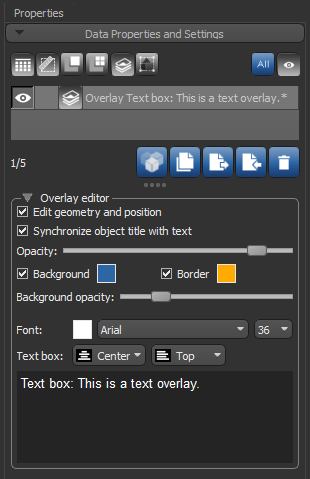
The options for editing text overlays are available in the Overlay Editor, shown below.
Overlay editor properties
| Description | |
|---|---|
| Edit geometry and position | If checked, the text overlay box will be unlocked and can be moved and resized. |
| Synchronize object title with text | If checked, the title of the overlay that appears in the object list will be updated whenever the overlay text is edited. |
| Opacity |
Lets you set the opacity of the text.
|
| Background |
If checked, a background will be added to the text overlay. Additional settings for the background include:
Background color box… Lets you select a background color (see Choosing Colors). Background opacity slider… Lets you set the opacity of the background. |
| Border |
If checked, a border will appear around the text overlay.
Border color box… Lets you select a border color (see Choosing Colors). |
| Font |
Lets you select the text color, font face, and font size.
Text color… Click the color box and then choose a new color in the Color dialog (see Choosing Colors). Font face… Select a font face in the drop-down menu. You should note that some font installed in your Fonts folder may not be available for text overlays. Font size… Select a font size in the drop-down menu. You should note that font sizes are always relative to the resolution of the selected view. |
| Text box | Lets you set the horizontal alignment of the text — Left, Center, or Right, as well as the vertical alignment of the text — Top, Middle, or Bottom. |
| Edit box | Lets you enter and edit the text that will appear as the overlay. |
